Drip Tape Maintenance: A Comprehensive Guide to Optimizing Drip Irrigation
09/28/2026Author: baharlooiNo comments
Tape drip lines have recently replaced permanent drip systems due to lower installation costs and high flexibility. However, the main challenge with these systems is their inherent sensitivity to sedimentation and clogging. Tape maintenance is a continuous process that begins with the initial system design and ends with the collection and storage of the tapes in the field at the end of the season. Many farmers consider tape drip lines to be single-use consumable products, but by adhering to safety and technical principles, these tapes can be used for up to three or four years with acceptable quality. The following details technical specifications and key tips for protecting the small holes and the body of the tape.
Examining the structure and vulnerability of tape drip lines
Unlike polymer drip emitters, which have complex internal channels, tape drip lines consist of a flexible tube (16 or 19 mm diameter) with perforated holes (1 to 3 mm). These holes are in direct contact with the external environment (soil). Therefore, any particles of silt, calcium sediment, or even microbial algae can block the water flow. Key points for using tape drip lines for irrigation This involves the precise identification of water contamination sources. If your water source is surface water (canal or channel), the risk of sediment clogging is several times higher than with well water. In this case, screen filters alone are insufficient, and sand filters (media filters) or disc/slab filters must be used to remove suspended particles before they enter the tape.
Impact of pressure on tape lifespan
Water pressure is a determining factor in drip tape maintenance. If excessive pressure is applied to the tape, the perforated holes are subjected to hydraulic force and gradually elongate, losing their shape. This phenomenon causes the water discharge pattern to become asymmetric and some holes to become completely blocked. The professional recommendation is that the operating pressure of a drip tape system should generally be maintained between 1 and 2 bar. Using pressure regulating valves at the inlet of each tape line (or main line inlet) is essential to prevent pressure fluctuations caused by piston pumps. Additionally, Agricultural Drip Tape Fittings should be made of polyethylene in tee or coupling form, as hose fittings or metal clamps can cause mechanical damage and leakage at sensitive points over time.
Optimal System Flushing Strategies
The most important part of drip tape maintenance is performing proper flushing at the beginning and end of each irrigation cycle. Flushing is not merely for cleaning the tape, but for removing deposits accumulated along the system path. Since drip tapes generally have a very small internal diameter, the water flow must be such that it can carry suspended particles out with it.
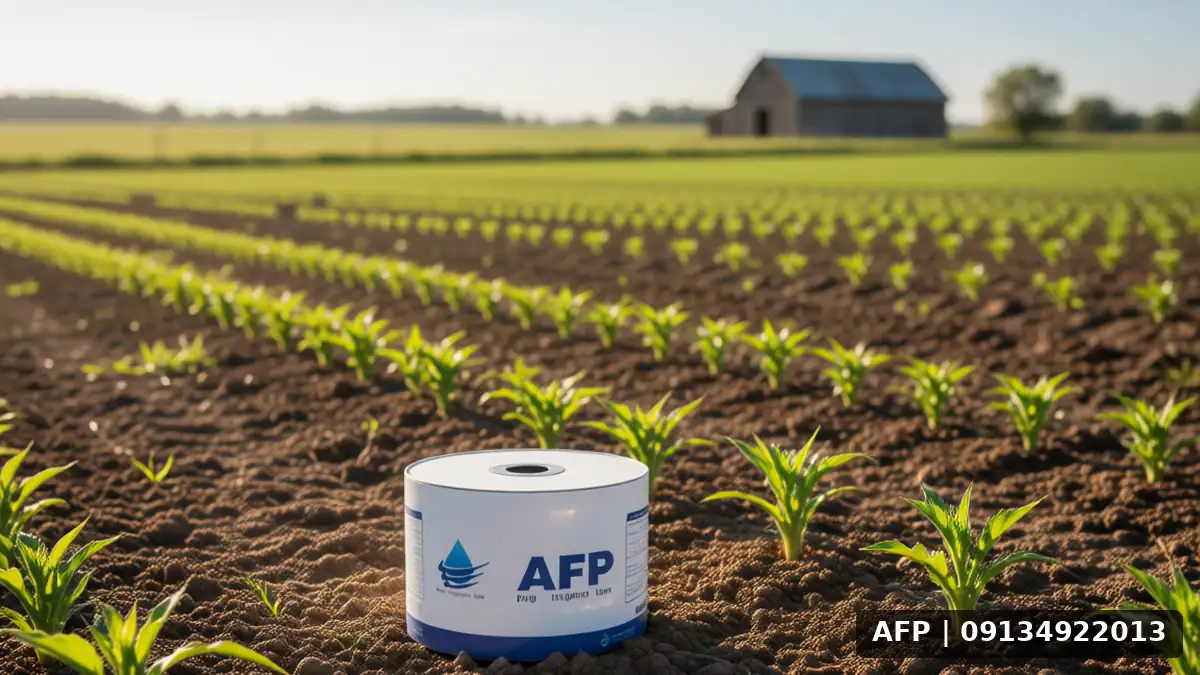
crop drip tape maintenance care become
Start-of-cycle flushing (Flush-in)
When you first turn on the system for the season, silt particles may remain in filter strainers and tapes. Running the water for 5 to 10 minutes without high pressure (even with the valve half-open) allows suspended particles to be pushed toward the system outlet. If your system outlet drains into a river or ditch, collect these particles to prevent them from re-entering the system.
End Flush-out
After irrigation is completed, pressure must be increased to clear blocked emitters. The ideal time for end flush-out is when pump pressure is at its maximum and outlet valves for all tapes have not been closed. Since tape lines are usually open at the end, opening all end valves and maintaining high flow allows water to pass through the tape at high speed, flushing out sediment particles. This process should continue for at least 5 minutes. Performing this regularly prevents the formation of sticky microbial layers on the inner walls of the tape.
Filtration Sanitation and Chlorination
The sifter or primary filter must be opened and washed weekly. In drip tape systems, any failure in filtration directly leads to clogging of tape emitters. In addition to mechanical filtration, using chlorine or hydrogen peroxide for water sanitation is recommended. Chlorine at a concentration of 1 to 2 mg/L can inhibit the growth of biofilm bacteria, which is the primary cause of clogging in narrow tape emitters. 2-inch Polyethylene Pipe Used as the main pipe in many small systems, but it should be noted that polyethylene hoses are susceptible to biofilm growth in the pipe body over the long term and require stronger chemical flushing if discoloration of water inside the pipe is observed.
Drip Tape Collection and Storage Guide
One of the major challenges in maintaining drip tape is how to collect it at the end of the season. Drip tapes are very delicate and undergo rapid degradation (UV damage) when exposed to direct sunlight. Additionally, if tapes are left in an open and loose state, they twist, making them difficult to untangle and increasing the risk of tearing.
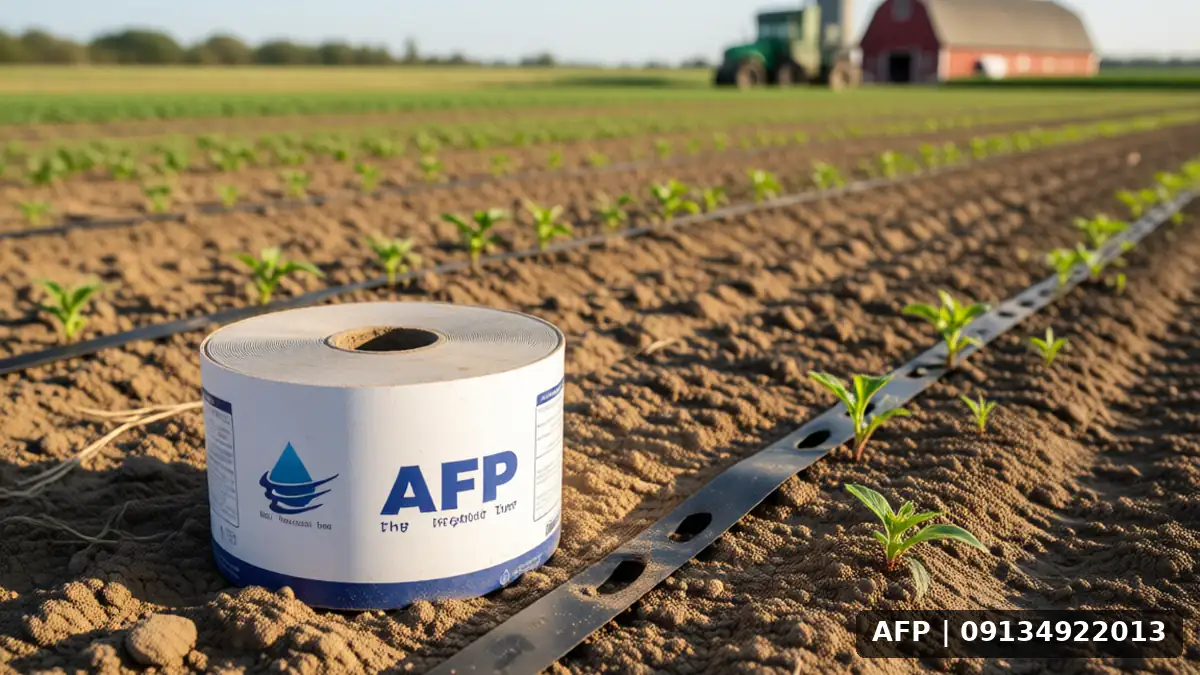
Drip Tape Crop Maintenance and Care
Correct Tubing Techniques
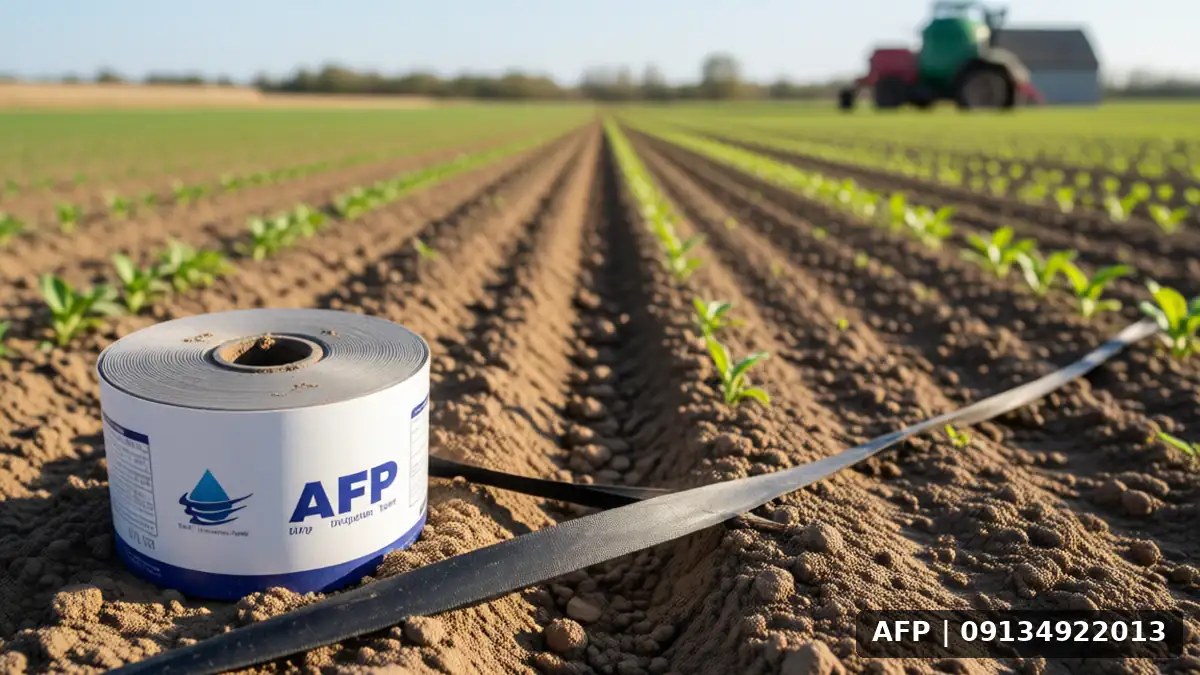
After removing the tape from the field, lay it out flat and level without stretching it. Then, use a drum or appropriate plastic wheel to coil the tape slowly. The coiling speed must be low to prevent the tape from being compressed and the holes from deforming. Before storage, ensure that all tapes are completely dry. Moisture causes mold and clogging of the holes. If possible, filter the tapes using suitable gloves to remove mud and debris from the tape surface before coiling.
Proper Storage Conditions
Drip tapes should be stored in a dark, dry environment with moderate temperatures. Storage in garages or agricultural warehouses that are protected from dust and moisture is ideal. Avoid exposing the tapes to direct sunlight in summer or severe frost in winter. Also, avoid placing heavy objects on the piles of tape to prevent mechanical stress on the tape body. If you plan to reuse the tapes in the following season, before installation, unroll a 5-meter section from the beginning of the tape and flush it with high-pressure water to ensure the holes are not clogged after prolonged closure.
Impact of Crop Type on System Maintenance
The type of plant and cultivation method affect the pattern of sediment settling and contamination entry into the drip tape. In vegetable crops such as tomatoes or cucumbers, using tunnels creates high humidity and low sunlight, which fosters the rapid growth of fungi and algae within the irrigation system. Therefore, in these sections, chemical flushing of the system with citric acid or chlorine is of double importance. Irrigation Tape for Cucumbers: A Comprehensive Guide to Selection and Usage It is recommended to maintain a minimum distance of 15 centimeters between the drip tape and the plant stem to prevent holes from being blocked by fallen leaves and crop residue (Mulch). In autumn plantings, as temperatures rise and biological activity increases, the risk of biological clogging also rises. During these seasons, incorporating antimicrobial agents into the water is an essential part of the drip tape maintenance program.
Frequently Asked Questions about Drip Tape
Is drip tape repairable?
Repairing drip tape cumulatively (such as patching tears) is very difficult and often temporary because the tape body is typically 1 millimeter thick and the specific adhesives are not readily available. The best approach is prevention. If the tape tears, do not attempt to reopen it; instead, cut out the damaged section and reconnect the system using a new coupling. If tears occur frequently, this indicates a weakness in the maintenance system or improper pressure.
crop drip tape maintenance care شوید
How often should I replace drip tape each year?
By following proper maintenance, flushing, and storage principles, high-quality drip tapes can last for 3 to 5 seasons. The service life of the tape depends on the intensity of use, water type, and chlorination levels. If your tape tears at the beginning of the season, you can use the undamaged sections for smaller systems or indoor greenhouses instead of replacing the entire roll.
Is high pressure always bad?
Yes. Pressure above 2.5 bar on a standard drip line causes emitter stretching and uneven distribution. Always use a Manometer at the end of the line to verify outlet pressure. If pressure exceeds 2 bar, partially close the main valves to reduce pressure.
Summary and Final Notes
Drip line maintenance is an investment that directly affects crop yield and water savings. Given limited water resources, a clog-free system operates more efficiently. Focus on regular flushing at the start and end of each irrigation cycle, precise pressure control, multi-stage filtration, and storage in darkness as key factors for extending drip line lifespan. Remember that drip lines are delicate; handle them gently to ensure years of service. For further guidance on connection equipment, you can Guide to Shrimp Farming on One Hectare study as an example of precision irrigation systems for confined spaces, even though general water management principles are similar.